
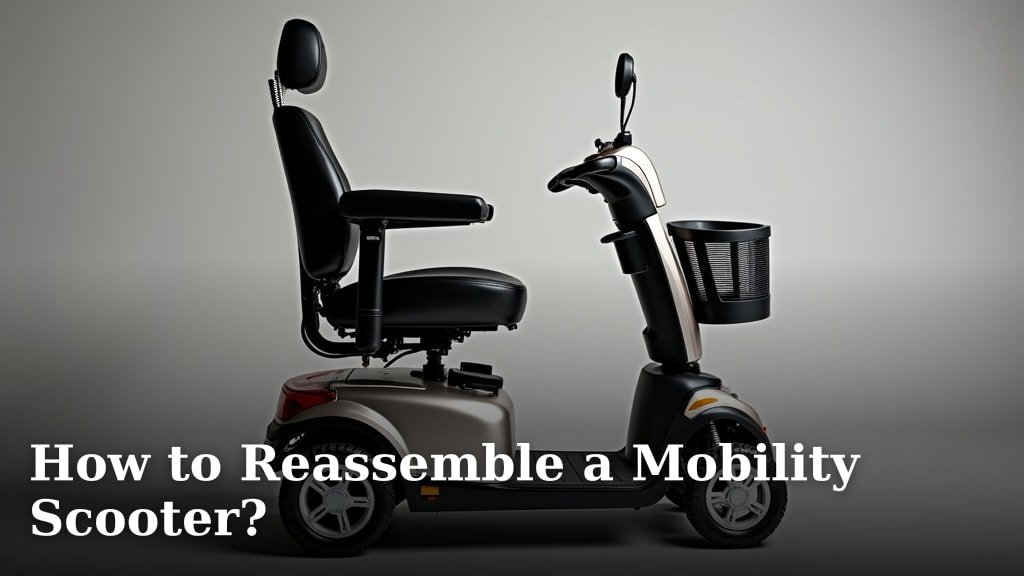
To reassemble a mobility scooter, you’ll generally connect the seat, battery pack, and tiller to the main frame. You often hear a click or feel a secure fit as each part locks into place. It’s usually a straightforward process designed for easy transport and setup.
You might be wondering if you can reassemble your scooter on your own, right? We found that most scooters are designed for tool-free disassembly and reassembly. This makes it super convenient for travel or storage. Just follow the steps, and your scooter will be ready to roll.
- Easy-to-follow steps for reassembly.
- No special tools are needed for most models.
- Ensuring all parts are securely connected.
- Quick setup for travel or daily use.
- Tips for a smooth, safe reassembly.
Let’s walk through exactly how to put your mobility scooter back together, step by simple step. We’ll make sure you feel confident and ready to go.
Putting Your Mobility Scooter Back Together
Reassembling your mobility scooter is typically straightforward. Most models are designed for easy, tool-free setup. You’ll reconnect the main components so you can hit the road again quickly.
We’ll walk you through each step. This ensures your scooter is not only ready to use but also safe and secure. Think of it like putting together a very simple puzzle.
Before You Begin: Essential Checks
Before you start, it’s wise to do a quick check. This helps make the reassembly process smooth. It also prevents any surprises later on.
Safety First: What You Need
Reassembly usually doesn’t require special tools. However, a few items can be helpful. We found that a clean, flat workspace is key.
- Owner’s manual (if available)
- Clean cloth to wipe parts
- Optional: Gloves for better grip
- Optional: A helper if lifting heavy components
Make sure you have enough space to work comfortably. You don’t want to bump into things while handling parts.
Inspecting Components for Damage
This is a great time to give your scooter parts a once-over. Look for any scratches or loose wires. It’s like doing a mini health check for your scooter.
Many experts say to check for any signs of wear (National Institute on Aging). Are all the connectors clean? Are the tires inflated?
If you notice anything broken, it’s better to address it now. A small issue can become a bigger problem if ignored.
Step-by-Step Reassembly Process
Let’s get down to business. We’ll start with the main frame and build up from there. You’ll see how each piece fits together.
Attaching the Seat Base and Pedestal
The seat is often the first major component you’ll reattach. It usually slides or drops into a designated socket on the main frame.
We found that many scooters use a “post-and-socket” system. Align the seat post with the receiver on the frame. Then, gently push down.
You should feel it click into place or securely settle. Try to rotate it gently; it shouldn’t lift off easily if engaged correctly.
Connecting the Battery Pack
The battery is the heart of your scooter. It’s crucial to connect it properly. Most scooters have easily accessible battery compartments.
Often, the battery pack slides into a tray or compartment. Ensure it’s pushed all the way in. It should fit snugly.
Next, connect the terminals. You’ll usually see a red and a black cable. Red to positive, black to negative. This is a common standard (Electrical Safety Foundation International).
Double-check that connections are tight. A loose battery connection can cause your scooter to stop unexpectedly.
Raising and Securing the Tiller
The tiller is the steering column. It holds the controls and handlebars. It often folds down for transport.
Carefully raise the tiller from its folded position. You’ll likely hear a “click” as it locks upright. Or, you might need to engage a lever or knob.
Locate the locking mechanism. This could be a lever, a pin, or a tightening knob. Secure the tiller firmly in its upright position.
Give the tiller a light tug to confirm it’s locked. It shouldn’t flop back down. This ensures you can steer safely.
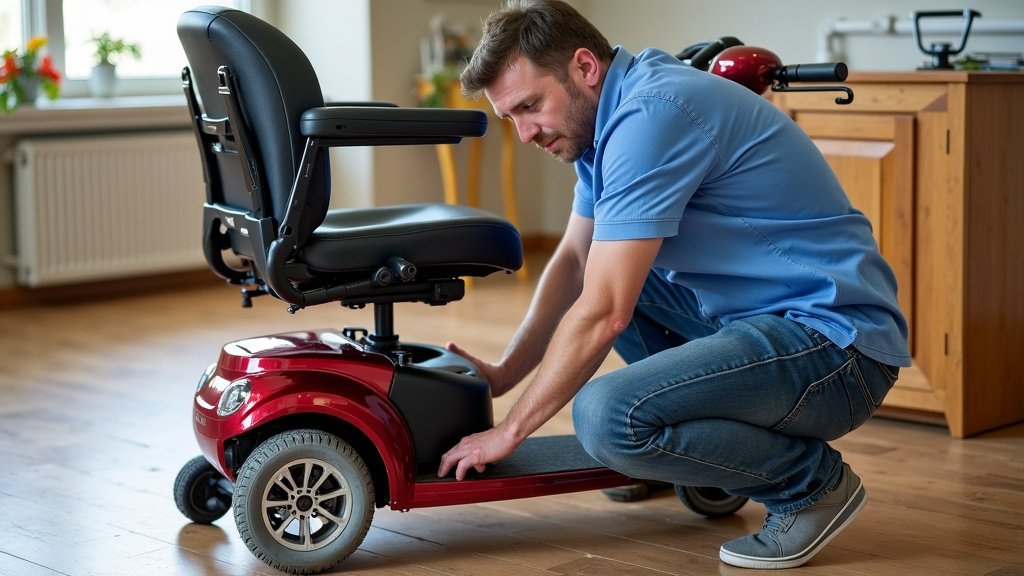
Final Connections and Adjustments
You’re almost there! A few more steps will get your scooter fully operational. These involve smaller, but equally important, elements.
Reattaching Armrests and Baskets
If your armrests were removed, slide them back into their slots on the seat. They often click or have a pin to secure them.
Baskets usually clip onto the front of the tiller. Or, they might have loops that hook onto the handlebars.
Make sure these accessories are firmly attached. You don’t want your groceries or personal items falling off mid-ride.
Making Seat Adjustments
Once the seat is on, you can adjust it for comfort. Most seats allow for height and swivel adjustments.
Look for levers or knobs under the seat. Adjust the height so your feet are comfortably on the floor. Swivel the seat if it makes it easier to get on and off.
We found that proper seat adjustment is crucial for comfort and posture. It’s like finding the perfect height for your office chair.
| Component | Check Point | Action |
|---|---|---|
| Seat Base | Is it stable? | Push down gently, check for rocking. |
| Battery Pack | Are all wires connected? | Double-check red to positive, black to negative. |
| Tiller | Is it locked upright? | Wiggle gently, ensure no play. |
| Armrests | Are they secure? | Pull lightly, confirm they don’t slide out. |
Pre-Ride Safety Checklist
Excellent! Your scooter should now be fully reassembled. Now, let’s do a quick safety check. This is your personal launch sequence.
Powering On and Testing Functions
Turn on the ignition. Do the indicator lights come on? Does the battery gauge show a charge?
Test the horn, lights, and turn signals. Everything should be working correctly. If not, retrace your steps before going further.
Gently engage the throttle. Does the scooter move forward and backward smoothly? Test the brakes. Are they responsive?
Many mobility device users perform a similar check daily (Rehabilitation Engineering and Assistive Technology Society of North America – RESNA).
Final Safety Walkaround
Take one last look around your scooter. It’s like a pilot doing a pre-flight inspection.
- Tires: Are they properly inflated and free of debris?
- Connections: Are all cables tucked away and not tangled?
- Loose parts: Is anything rattling or wobbly?
- Steering: Does the tiller turn smoothly without resistance?
- Overall feel: Does the scooter feel solid and ready to operate?
If everything feels good, you’re ready to go! Congratulations, you’ve successfully reassembled your mobility scooter.
Conclusion
Reassembling your mobility scooter doesn’t have to be a chore. As we’ve seen, most models are designed for easy, tool-free setup, making travel and storage simple. By following these straightforward steps, from attaching the seat to securing the tiller, you ensure your scooter is not only ready but also safe.
Always remember those crucial pre-ride checks – they are your personal safety net. Now that you know how, you can confidently put your scooter back together, saving time and hassle. Get ready to roll safely and enjoy the freedom your mobility scooter brings!
Frequently Asked Questions
How often should I reassemble my mobility scooter?
You should reassemble your scooter whenever you’ve taken it apart for transport or storage. There’s no set schedule, but always follow the steps to ensure it’s put together correctly and safely each time you do it.
What if I lose my owner’s manual for reassembly?
Don’t worry if your manual is missing. Most manufacturers offer digital versions on their websites. We found that watching online video tutorials for your specific scooter model can also be incredibly helpful. The basic steps are often very similar across different brands.
Can a mobility scooter be damaged during reassembly?
While scooters are designed to be sturdy, damage can occur if parts are forced or dropped. Always handle components carefully. If something doesn’t fit easily, double-check your alignment; never try to force it. That’s why inspecting parts before you start is so important.
Is it normal for the battery to be heavy during reconnection?
Yes, mobility scooter batteries can be quite heavy. This is normal. If you struggle with lifting it, consider asking a helper for assistance. We suggest holding it with two hands and keeping your back straight to prevent strain.
My scooter won’t turn on after reassembly. What should I check first?
First, double-check the battery connection. Ensure the red cable is firmly on the positive terminal and the black on the negative. Also, make sure the battery pack is fully inserted into its compartment. Sometimes, a simple loose connection is the culprit. If that doesn’t work, ensure the key is fully inserted and turned.
