
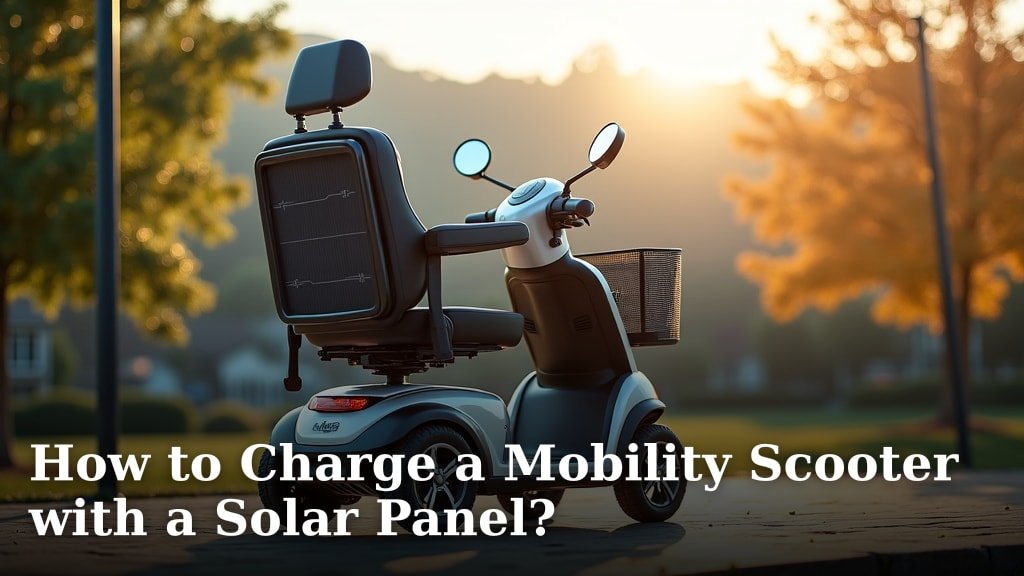
Yes, you can absolutely charge a mobility scooter with a solar panel, and it’s a fantastic way to gain independence and reduce electricity costs. You’ll need a solar panel kit designed for battery charging, often including a charge controller to protect your scooter’s battery. This setup allows your scooter to draw power from the sun, making it more eco-friendly.
Using solar power for your mobility scooter means you can extend your travel range without constantly searching for an outlet. It’s a smart way to harness renewable energy for your daily needs. Many users find this setup offers a great deal of freedom and convenience, especially for those who enjoy spending time outdoors.
- Yes, solar panels can charge your mobility scooter.
- You’ll need a solar panel kit and a charge controller.
- It helps reduce electricity bills and increases your scooter’s range.
- This is a great way to use renewable energy for personal mobility.
- Enjoy more freedom and outdoor time with a solar-charged scooter.
Let’s walk through exactly how you can set up your mobility scooter to run on sunshine, step by step.
Harnessing the Sun: Powering Your Mobility Scooter
Charging your mobility scooter with solar power is a smart and eco-friendly choice. It can help you save money on electricity bills. Plus, it gives you more freedom to travel. You can stay charged up without needing a wall outlet. This is especially great if you love spending time outdoors.
Understanding the Basics of Solar Charging
How does this magic happen? It’s all about converting sunlight into usable energy for your scooter’s battery. Solar panels are made of photovoltaic cells. These cells capture sunlight and turn it into direct current (DC) electricity. Your mobility scooter runs on DC power, so it’s a perfect match.
The amount of power you get depends on a few things. The size of your solar panel is a big factor. The strength of the sunlight is also important. And of course, how much you use your scooter matters too. You won’t be generating power instantly, but it’s a steady way to maintain a charge.
Key Components for Your Solar Setup
To get started, you’ll need a few specific items. Think of these as your essential toolkit for sunshine power.
The Solar Panel Itself
You’ll need a solar panel designed for charging batteries. These come in various sizes and wattages. For a mobility scooter, a panel between 50 and 100 watts is often a good starting point. This size offers a balance between charging speed and portability. You want something that can provide a decent trickle charge throughout the day.
The Charge Controller: Your Battery’s Best Friend
This is a critical piece of equipment. A charge controller acts as a smart guardian for your battery. Its main job is to prevent overcharging. Overcharging can damage your scooter’s battery and shorten its lifespan. It also prevents the battery from discharging back through the panel at night.
There are two main types of charge controllers: PWM and MPPT. PWM (Pulse Width Modulation) controllers are simpler and less expensive. They work well for smaller systems. MPPT (Maximum Power Point Tracking) controllers are more advanced and efficient. They can extract more power from the panel, especially in less-than-ideal conditions. For mobility scooters, an MPPT controller is often recommended for its better performance.
Mounting Hardware and Wiring
You’ll need a way to securely mount your solar panel. This could be a bracket for attaching it to your scooter. Some people prefer portable setups they can place on the ground or a nearby surface. You’ll also need the appropriate wiring and connectors to link the panel to the charge controller and then to your scooter’s battery. Using marine-grade connectors is a good idea for durability and weather resistance.
Choosing the Right Solar Panel for Your Needs
Selecting the correct solar panel involves a bit of thought about your usage. How far do you typically travel in a day? How long do you usually park your scooter between charges?
Wattage Matters
The wattage of the panel determines how much power it can generate. A higher wattage panel will charge your battery faster. However, higher wattage panels are also larger and heavier. You need to balance power needs with the practicalities of carrying the panel.
For daily top-ups and moderate usage, a 50-watt panel might suffice. If you use your scooter extensively or live in an area with less consistent sunshine, a 100-watt panel could be a better investment. Many experts suggest starting with a panel that’s at least 10% of your scooter’s battery capacity in watts. This ensures it can effectively contribute to charging.
Panel Type: Monocrystalline vs. Polycrystalline
Most solar panels for portable use are either monocrystalline or polycrystalline. Monocrystalline panels are generally more efficient and perform better in low light. They tend to be more expensive. Polycrystalline panels are less efficient but more affordable. For a mobility scooter, either type can work, but monocrystalline panels might offer a slight edge in getting more charge on cloudy days.
Connecting Your Solar Setup: A Step-by-Step Guide
Once you have your components, it’s time to put it all together. Safety first! Always disconnect your scooter’s battery before starting any wiring. Make sure you understand your scooter’s battery system.
Step 1: Mount the Solar Panel
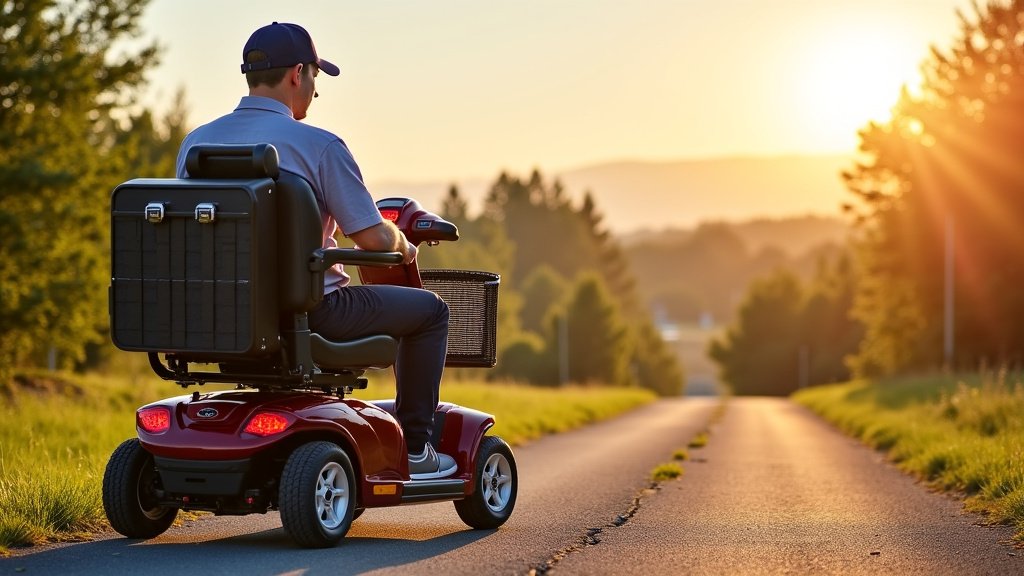
Find a secure spot for your solar panel. If you plan to attach it to your scooter, ensure it’s stable and won’t obstruct your view or operation. You want it positioned to catch as much direct sunlight as possible throughout the day. Some people create a simple stand for the panel, allowing them to angle it towards the sun.
Step 2: Connect Panel to Charge Controller
Wire the solar panel to the input terminals of your charge controller. Most charge controllers have clear markings for solar panel input (+ and -). Use appropriate gauge wires and secure connections. Ensure the polarity is correct; red for positive, black for negative.
Step 3: Connect Charge Controller to Battery
Next, connect the output terminals of the charge controller to your mobility scooter’s battery. Again, pay close attention to polarity. Most charge controllers will have battery terminals clearly marked. This connection allows the controller to regulate the flow of power to the battery.
Step 4: Secure All Connections and Test
Double-check all your connections. Make sure they are tight and insulated. Once everything is connected, you can expose the solar panel to sunlight. The charge controller should indicate that it’s receiving power and charging the battery. Consult your charge controller’s manual for specific indicator lights and their meanings.
Optimizing Your Solar Charging Experience
Getting the most out of your solar charging system involves a few smart practices. It’s about working with nature, not against it!
Positioning for Peak Power
The angle and direction of your solar panel are key. Ideally, you want the panel to face true south (in the Northern Hemisphere) and be tilted at an angle roughly equal to your latitude. This maximizes exposure to the sun throughout the day. If your panel is portable, reposition it periodically to follow the sun.
Keep it Clean!
Dust, dirt, and debris can significantly reduce a solar panel’s efficiency. Clean your panel regularly with a soft cloth and mild soap and water. A clean panel means more sunlight gets converted into power. Think of it like washing your car; it just performs better when it’s clean.
Sunlight is Your Fuel
Understand that solar charging is dependent on the sun. Cloudy days will result in slower charging, or even no charging. Plan your usage accordingly. If you know a few cloudy days are coming, make sure your scooter is adequately charged beforehand.
What to Expect: Realistic Charging Times
It’s important to have realistic expectations about charging times. Solar charging for mobility scooters is often a trickle charging system. It’s designed to maintain your battery’s charge or slowly replenish it over time.
A full charge from a completely depleted battery using only solar power can take a considerable amount of time. This depends heavily on the panel size, sunlight intensity, and your battery’s capacity. For example, a 100-watt panel might add 10-15 miles of range per day in ideal sunny conditions. It’s more about extending your range and reducing reliance on grid power than rapid charging.
Here’s a general idea of what you might expect:
| Panel Wattage | Estimated Daily Range Added (Sunny Day) | Best Use Case |
|---|---|---|
| 50 Watts | 5-10 miles | Daily top-ups, maintaining charge |
| 100 Watts | 10-15 miles | Moderate use, supplementing grid charging |
Note: These are estimates. Actual performance varies with weather, panel angle, and battery condition.
Safety and Maintenance Tips for Your Solar Setup
Keeping your solar setup safe and well-maintained ensures longevity and reliable performance. A little care goes a long way.
Regular Inspections
Periodically check all wiring connections. Ensure they are secure, free from corrosion, and properly insulated. Look for any signs of wear and tear on the panel or its wiring.
Battery Health
While the charge controller protects your battery from overcharging, it’s still good practice to monitor its overall health. Keep your batteries clean and ensure they are properly connected. If you notice any issues with your scooter’s battery performance, consult your scooter’s manual or a professional.
Weather Protection
If your solar panel is permanently mounted, ensure it can withstand local weather conditions. Some panels are designed to be durable, but extreme weather might require temporary removal or extra protection.
When to Rely on Traditional Charging
While solar power is fantastic, there are times when you’ll still need your wall charger. If you’ve had several consecutive cloudy days, your solar panel may not have generated enough power to fully charge your scooter. Heavy usage that drains your battery significantly may also require supplementing with your conventional charger.
Think of solar charging as a powerful supplement to your standard charging routine. It’s a way to be more self-sufficient and reduce your carbon footprint. It’s about making the most of the energy that’s freely available from the sun.
Your Solar-Powered Mobility Checklist
Ready to go solar? Here’s a quick checklist to help you get started:
- Choose the right solar panel wattage.
- Select a reliable charge controller (MPPT recommended).
- Gather necessary wiring and connectors.
- Plan a secure mounting location for the panel.
- Ensure you understand your scooter’s battery type.
- Always disconnect power before wiring.
Conclusion
You’ve learned how to harness the sun’s energy to power your mobility scooter. It’s a smart way to boost your independence and cut down on electricity costs. By choosing the right solar panel and charge controller, you can enjoy more freedom outdoors. Remember, solar charging is often a supplement, helping to maintain your battery and extend your range. Start by assessing your daily travel needs and select components that match. Get ready to experience the convenience of solar-powered mobility!
Frequently Asked Questions
Can I use any solar panel to charge my mobility scooter?
No, you should use a solar panel specifically designed for battery charging. It needs to be compatible with your scooter’s battery voltage. Using the wrong type of panel could damage your battery.
How long does it take to charge a mobility scooter with a solar panel?
Charging times vary greatly depending on panel size, sunlight intensity, and your battery’s capacity. Solar charging is typically a slow, trickle charge, meant more for maintenance or extending range than rapid full charges.
Do I really need a charge controller?
Yes, a charge controller is essential. It protects your scooter’s battery from overcharging and prevents power from draining back into the panel at night. This helps extend your battery’s lifespan.
Can I mount the solar panel directly on my mobility scooter?
Yes, you can mount it on your scooter if it’s done securely and doesn’t obstruct your visibility or controls. Some users prefer portable setups that can be placed on the ground or a nearby surface for better sun exposure.
What happens on cloudy days or at night?
On cloudy days, your solar panel will produce much less power, slowing down the charging process. At night, it produces no power at all. You may need to rely on your traditional charger during periods of low sunlight or heavy usage.
