
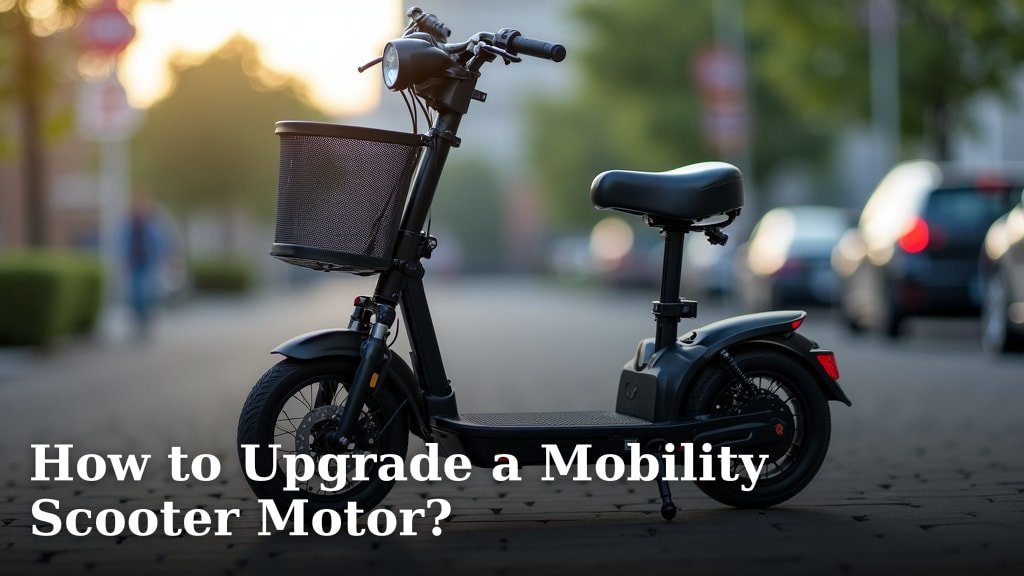
Yes, you can definitely upgrade your mobility scooter motor to get more power and speed. Many scooter owners find that a motor upgrade can significantly improve their scooter’s performance, especially on hills or for longer trips. It’s a popular modification for those seeking a bit more pep in their step.
Swapping out your existing motor for a more powerful one is often more achievable than you might think. You’ll want to ensure the new motor is compatible with your scooter’s battery system and controller. Doing this can mean a smoother ride and less strain on your scooter during everyday use.
- Check compatibility with your scooter’s battery and controller.
- Research different motor types for desired speed and power.
- Ensure you have the right tools for the job.
- Consider safety and local regulations for modifications.
- A new motor can boost your scooter’s hill-climbing ability.
Let’s walk through the steps involved in upgrading your mobility scooter motor so you can get back to cruising with confidence and a bit more zoom!
Boosting Your Mobility Scooter’s Performance with a Motor Upgrade
You’re probably wondering if upgrading your mobility scooter motor is a good idea. The short answer is yes, it can be! Many users find that a more powerful motor means a better experience, especially if you live in a hilly area or need your scooter for longer distances. It’s a common modification that can make a real difference in your daily life.
Let’s get into how you can achieve this upgrade. It’s usually more straightforward than you might think. We’ll guide you through the essential steps, from choosing the right motor to making sure it fits perfectly with your scooter’s existing parts. This process is about enhancing your freedom and making your scooter work harder for you.
Understanding Your Current Scooter Setup
What’s Under the Hood? Inspecting Your Existing Motor
Before you even think about buying a new motor, you need to know what you’re working with. Your current motor has a specific power rating, often measured in watts (W). This tells you how much oomph it has. You’ll also want to identify the motor’s voltage (V). Most mobility scooters run on 24V or 36V systems. Knowing these details is super important for compatibility.
Take a look at your scooter’s manual if you have it. It’s a goldmine of information about your scooter’s specifications. If the manual is missing, don’t worry. You can often find the motor’s specs printed directly on the motor casing itself. Sometimes, you might need to remove a small panel to get a clear view. Safety first, though – always disconnect the batteries before you start poking around!
The Brains of the Operation: Your Scooter’s Controller
Your scooter’s controller is like its brain. It tells the motor what to do and how fast to go. The controller is designed to work with a certain range of motor power and voltage. If you choose a motor that’s too powerful or runs at a different voltage than your controller is designed for, you could damage the controller. That’s definitely something we want to avoid.
Check your controller’s specifications, usually found on a label or in your manual. It will often list the maximum voltage and amperage it can handle. If you’re upgrading to a significantly more powerful motor, you might also need to upgrade your controller. This is a common pairing: a bigger motor often needs a beefier controller to match its output. We found that many users overlook this, leading to premature component failure.
Powering Up: Battery System Compatibility
Your scooter’s batteries are its fuel source. A more powerful motor will draw more power. You need to ensure your current battery system can handle the increased demand. If your batteries are older or smaller in capacity (measured in amp-hours, Ah), they might not be able to deliver the sustained power a stronger motor needs. This can result in reduced range or performance issues.
For a noticeable performance boost, a motor upgrade often goes hand-in-hand with considering your battery system. Upgrading to higher-capacity batteries can mean longer ride times and better performance, especially when climbing hills. Make sure any new batteries you consider are compatible with your scooter’s voltage system. Mixing voltages is a big no-no and can cause serious damage (Cleveland Clinic).
Choosing the Right Upgraded Motor
What Are You Looking For? Power vs. Speed
When you’re looking at new motors, you’ll see different ratings. You can prioritize raw power for better hill-climbing or focus on higher speeds. Most upgraded motors offer a balance of both. Think about where you’ll be using your scooter most. If steep inclines are your nemesis, a torque-focused motor might be your best bet. If you want to feel the wind in your hair on flat paths, a motor with a higher RPM rating could be more suitable.
We found that many people benefit from a motor that’s one step up in power from their original. Going too extreme might overload other components, as we mentioned. It’s a bit like choosing a new engine for your car; you want more power, but you don’t want to break the transmission. Researching specific motor models known for reliability in mobility scooters is a smart move.
Motor Types and Specifications to Consider
The most common type of motor in mobility scooters is the brushed DC motor. They are reliable and relatively simple. However, brushless DC (BLDC) motors are becoming more popular. BLDC motors are generally more efficient, offer a longer lifespan, and require less maintenance. They can be a bit more expensive upfront, but their efficiency might pay off in the long run.
When comparing motors, look at these key specs:
- Continuous Power (W): The power the motor can deliver steadily.
- Peak Power (W): The maximum power it can briefly output (e.g., for starting or climbing).
- Voltage (V): Must match or be compatible with your scooter’s battery system and controller.
- RPM (Revolutions Per Minute): Indicates potential speed. Higher RPM generally means higher top speed.
- Torque: The rotational force, crucial for hill-climbing and acceleration.
Ensuring Compatibility: The Golden Rule
This is where we can’t stress enough: compatibility is king. A motor might have amazing specs, but if it doesn’t work with your controller and batteries, it’s useless. Always double-check the voltage requirements of the new motor against your scooter’s battery voltage and controller’s maximum voltage rating. Most scooter parts are designed to work within a specific voltage range. Straying from this is asking for trouble.
If you’re unsure, it’s wise to consult with a mobility scooter dealer or a technician. They can help you navigate the technical details. They’ve seen countless setups and know what works. Many experts suggest sticking within a 10-15% increase in motor power for optimal system balance without needing major component swaps (Mobility Scooter Forum Insights). This is a good general guideline.

The Upgrade Process: Step-by-Step
Gathering Your Tools and Safety Gear
Before you start, make sure you have the right tools. You’ll likely need a socket set or wrenches to remove bolts, screwdrivers for any panels or electrical connections, and possibly wire strippers and crimpers if you need to modify any wiring. A multimeter can be super handy for checking voltage and continuity, though not strictly essential for a basic swap.
Safety gear is non-negotiable. Always wear safety glasses to protect your eyes from dust or debris. Gloves can protect your hands. Most importantly, always disconnect the batteries before you begin any work. Removing the main power source prevents electrical shorts and potential shocks. It’s the number one safety rule for any electrical project on your scooter.
Step 1: Safely Disconnect and Remove the Old Motor
First things first: park your scooter on a level surface and ensure the parking brake is engaged. Then, disconnect the main power from the batteries. You might need to access the battery compartment. Once the power is off, locate the motor. It’s usually mounted to the transaxle or chassis. You’ll see wiring leading to it from the controller.
Carefully label the wires connected to the motor before disconnecting them. Use masking tape and a pen. This will save you a huge headache when it’s time to connect the new motor. Then, unbolt the motor from its mounting points. You might need someone to help you, as motors can be surprisingly heavy. Gently remove the old motor from the scooter.
Step 2: Prepare and Install the New Motor
Take your new motor and compare its mounting points to the old one. Sometimes they are identical, other times you might need to use adapter plates or shims. Refer to the instructions that came with your new motor. Ensure the motor shaft aligns correctly with the drive mechanism (like a gear or belt). Proper alignment is key for smooth operation and preventing premature wear.
Once aligned, mount the new motor securely using the appropriate bolts. Double-check that it’s firmly attached. Now, it’s time to reconnect the wiring. Use your labels from earlier to ensure you connect each wire to the correct terminal on the new motor. If the connectors aren’t the same, you might need to use new ones. This is where crimpers and strippers come in handy.
Step 3: Reconnect and Test Your System
With the new motor wired up, it’s time to reconnect the batteries. Do this carefully, ensuring all connections are secure. Now for the moment of truth: turn on your scooter. Listen for any unusual noises. Check if the motor spins freely when you engage the throttle. You might want to try it with the wheels off the ground first, if possible, to test the motor’s rotation without load.
Test the scooter at a very low speed initially. Does it move forward and backward as expected? Does the speed control feel smooth? If everything seems okay, gradually increase the speed. Listen for any grinding, whining, or other strange sounds. If anything sounds off, power down immediately and recheck your wiring and mounting. We found that a slow, methodical approach here prevents most issues.
Post-Upgrade Considerations and Maintenance
Checking for Overheating and Strain
After your first few rides with the upgraded motor, pay close attention to its temperature. If the motor housing feels excessively hot to the touch after a typical use cycle, it might be working too hard. This could indicate that it’s drawing too much current for the controller or batteries, or that there’s a mechanical issue like friction. A little warmth is normal, but it shouldn’t be painful to touch.
We recommend monitoring your scooter’s performance on hills. If the motor struggles, slows down significantly, or gets very hot, you might need to re-evaluate your setup. Perhaps the controller needs an upgrade to handle the motor’s amperage, or your batteries need more capacity. Sometimes, simply reducing the load on the scooter can help. Be realistic about what your scooter can handle.
Routine Checks for Longevity
An upgraded motor, especially a brushless type, often requires less maintenance than brushed motors. However, regular checks are still a good idea. Ensure all electrical connections remain tight and free from corrosion. Inspect the motor casing for any signs of damage or wear. If your motor is exposed to the elements, consider cleaning it periodically and checking for debris buildup.
A table summarizing key checks can be helpful:
| Component | Check Frequency | What to Look For |
|---|---|---|
| Motor Mounts | Monthly | Loose bolts, cracks in mounts |
| Wiring Connections | Monthly | Corrosion, loose terminals, frayed wires |
| Motor Casing | Quarterly | Damage, debris, excessive heat signs |
| Performance | During each ride | Unusual noises, loss of power, overheating |
Remember, a well-maintained motor contributes to the overall longevity of your mobility scooter.
Are There Legal or Safety Limits?
It’s important to be aware of any local regulations regarding mobility scooter modifications. In some areas, there may be limits on the maximum speed or motor power allowed for personal mobility devices. You wouldn’t want to inadvertently create a scooter that’s illegal to operate on public sidewalks or paths. Researching your local laws is a responsible step. Many guidelines suggest that personal mobility devices should operate at speeds comparable to pedestrian walking pace, generally around 3-4 mph (CDC).
Safety is always the top priority. An upgrade should enhance your safety, not compromise it. Ensure your brakes are in excellent condition to handle potentially higher speeds. If you’re unsure about the safety implications, consult a professional. They can help ensure your upgraded scooter remains safe for you and others.
Your Mobility Scooter Upgrade Checklist:
- Confirm your current motor’s voltage and wattage.
- Check your controller’s maximum voltage and amperage rating.
- Select a new motor compatible with your existing battery voltage.
- Ensure the new motor’s mounting points are compatible or can be adapted.
- Gather all necessary tools and safety equipment before starting.
- Label all wires before disconnecting the old motor.
Conclusion
Upgrading your mobility scooter motor can truly breathe new life into your ride, offering enhanced power and a smoother experience. You’ve learned how to assess your current setup, choose the right compatible motor, and tackle the installation process step-by-step. Remember to prioritize safety and compatibility throughout the upgrade. Taking these steps means you can enjoy more freedom and better performance on your scooter.
Your next step is to gather your scooter’s specifications and start researching motor options. A successful upgrade is well within your reach!
Frequently Asked Questions
How much faster will my scooter be after a motor upgrade?
The increase in speed varies greatly depending on the original motor and the new one you choose. Generally, an upgraded motor can boost your top speed, but it’s also designed to improve acceleration and hill-climbing ability. We found that focusing solely on top speed might not be the best approach for overall performance.
Do I need to upgrade my controller if I upgrade my motor?
Often, yes. If you select a motor with a significantly higher wattage or amperage rating than your current controller can handle, you’ll likely need to upgrade the controller too. Overpowering your existing controller can lead to damage. Check the specifications of both the new motor and your current controller carefully.
Can I use a motor from a different brand of scooter?
While possible, it’s usually best to stick with motors designed for mobility scooters. Even if the voltage matches, mounting points and shaft sizes can differ greatly between brands and models. Researching motors specifically made for mobility scooter upgrades will save you a lot of potential headaches.
What if my new motor doesn’t fit perfectly?
Minor discrepancies in mounting points can sometimes be resolved with adapter plates or shims. However, significant differences might indicate incompatibility. If you’re not comfortable fabricating or modifying parts, it’s best to consult a professional or look for a motor with identical or very similar mounting dimensions.
How often should I check my upgraded motor for issues?
After the initial installation, we recommend checking for overheating or unusual noises during your first few rides. Afterwards, routine monthly checks of wiring connections and motor mounts are good practice, just like with any other scooter component. Consistent performance monitoring during each ride is also key.
