
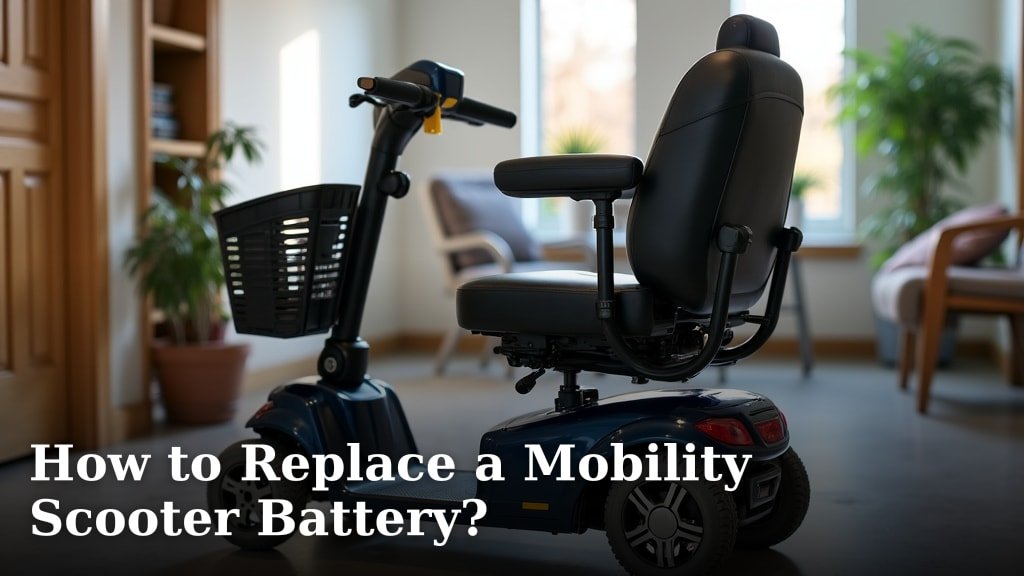
To replace a mobility scooter battery, first, gather your tools: a screwdriver, wrench, and new batteries. Next, always disconnect the old batteries safely, then carefully connect the new ones. This process usually takes about 30-60 minutes.
Replacing your mobility scooter’s battery is a routine task that can extend the life of your scooter. You’ll often find that batteries last 1-2 years, depending on usage. Knowing how to change them yourself can save you time and money on service calls.
- Turn off your scooter and remove the key.
- Locate the battery compartment.
- Disconnect the old battery terminals.
- Remove old batteries and insert new ones.
- Reconnect the new battery terminals.
- Close the compartment and test your scooter.
Ready to get your scooter running like new again? We’ll walk you through each step of how to replace a mobility scooter battery with clear, easy-to-follow instructions.
Getting Your Mobility Scooter Ready for a Battery Change
Before you dive into replacing your mobility scooter’s battery, a little prep work goes a long way. Think of it like getting your ducks in a row before a big project. You want to make sure you have everything you need and that your scooter is in the safest possible state. This initial setup ensures a smooth and hassle-free battery swap.
Safety First: Powering Down Your Scooter
Your safety is our top priority. Always begin by making sure your scooter is completely powered off. This isn’t just about turning the key; it’s about making sure there’s no residual power flowing. You wouldn’t want to work on an appliance that’s still plugged in, right? The same principle applies here to prevent any accidental shocks or damage.
Turning Off and Key Removal
First, turn the scooter’s key to the “off” position. Then, and this is important, remove the key entirely. This prevents anyone from accidentally turning the scooter on while you’re working. It also acts as a visual reminder that the scooter is out of commission for a bit. We’re aiming for absolute certainty that no power can be engaged during the process.
Parking Your Scooter Safely
Find a flat, stable surface to park your scooter. You’ll be leaning over it and possibly moving around it, so you want it to be steady. A garage or a paved patio works well. Avoid sloped driveways or uneven grass, which could cause your scooter to roll or tip. Safety is key, and a stable workspace prevents unnecessary frustration or injury.
Gathering Your Essential Tools and Supplies
You wouldn’t start baking a cake without gathering your ingredients, would you? The same goes for battery replacement. Having your tools ready means you won’t have to stop mid-task to hunt for something. We found that a few basic items are all you generally need for this job. This step is about saving time and keeping your focus on the task at hand.
The Right Tools for the Job
You’ll typically need a few common household tools. A Phillips head screwdriver is often used for opening battery compartments. You might also need a wrench or socket set to loosen battery terminal nuts. Make sure your tools are in good condition and fit snugly to avoid stripping screws or nuts. Having the right tools makes all the difference.
- Screwdriver (usually Phillips head)
- Wrench or socket set (sizes 10mm, 13mm, or 1/2 inch are common)
- New replacement batteries (make sure they’re the correct type and size)
- Safety glasses
- Gloves (latex or work gloves)
- Battery terminal cleaner (optional, but recommended)
- A clean rag or towel
Selecting the Correct Replacement Batteries
This is perhaps the most important part of your preparation: getting the right batteries. Mobility scooters almost always use sealed lead-acid (SLA) batteries, often gel or AGM types. Check your scooter’s manual or the old batteries themselves for specifications. You’ll need to match the voltage (usually 12V) and the amp-hour (Ah) rating. Using the wrong battery type or size can affect performance and even damage your scooter (National Institutes of Health). When in doubt, consult your scooter’s manufacturer or an authorized dealer. Don’t guess here; accuracy is vital.
| Battery Type | Pros | Cons | Common Uses |
|---|---|---|---|
| Gel Cell | Maintenance-free, spill-proof, deep cycle resistant, lasts longer than AGM in some conditions. | More expensive, sensitive to overcharging, can be heavier. | Frequent deep discharge applications, extreme temperatures. |
| AGM (Absorbent Glass Mat) | Maintenance-free, spill-proof, good for high current applications, handles vibration well. | Slightly less deep cycle capacity than gel, sensitive to overcharging. | General mobility scooters, power wheelchairs. |
Accessing and Disconnecting Your Old Mobility Scooter Batteries
Now that you’re ready, it’s time to open up your scooter and get to those old batteries. This step involves carefully locating the battery compartment and then safely disconnecting the power. Take your time here; patience ensures no wires are pulled accidentally and that connections are handled correctly.
Locating the Battery Compartment
Every scooter is a little different, but most battery compartments are fairly accessible. You’ll typically find them under the seat, under a floor mat, or sometimes at the front or rear of the scooter, beneath a protective cover. Check your owner’s manual if you’re unsure; it will show you exactly where to look. Some scooters have a battery tray that slides out, while others require removing a few screws. Don’t force anything; gentle exploration is the key.
Opening the Compartment
Once you’ve found the compartment, you’ll likely need to remove a cover or lid. This usually involves undoing screws with your screwdriver or unlatching clips. Keep track of any screws you remove so you can put them back later. A small container is helpful for this. You might also need to remove the seat or lift a floor panel. Take a moment to observe how everything is connected before you start disconnecting.
Safely Disconnecting the Old Batteries
This is where safety glasses and gloves come in handy. Batteries, even old ones, can still contain a charge. We found that approaching this step methodically prevents problems. The goal is to disconnect the negative terminal first, then the positive. This minimizes the risk of accidental short circuits (Centers for Disease Control and Prevention).
The Disconnection Sequence: Negative First!
Look at the battery terminals. You’ll see a red terminal (positive, +) and a black terminal (negative, -). Always, always, disconnect the black (negative) terminal first. Use your wrench to loosen the nut on the negative post. Once loose, carefully remove the cable and tuck it away so it doesn’t accidentally touch anything. Now, repeat the process for the red (positive) terminal. This order is crucial for your safety. If you have multiple batteries, disconnect them one by one, maintaining the negative-first rule for each individual battery.
Observing Connections and Taking Pictures (Optional but Recommended)
Before you remove the batteries, take a picture with your phone of how everything is connected. This visual reference will be invaluable when you’re connecting the new batteries. Note which cables go to which terminals, especially if you have multiple batteries wired in series or parallel. It’s like having a cheat sheet for reassembly. You might think you’ll remember, but why risk it?
Installing Your New Mobility Scooter Batteries
With the old batteries out, it’s time for the new ones! This is the exciting part, where you bring fresh power to your scooter. We’ll guide you through carefully placing the new batteries and reconnecting them correctly. This step is a mirror image of the disconnection process, just in reverse.
Removing Old Batteries and Cleaning the Compartment
Once disconnected, the old batteries can be lifted out. They can be quite heavy, so lift with your legs, not your back. If they’re particularly heavy, ask for help. Place them aside for proper recycling. You can’t just throw these in the trash! Many auto parts stores or battery retailers accept old mobility scooter batteries for recycling. This is an important step for environmental responsibility.
A Clean Slate for New Power
Before putting in the new batteries, take a moment to inspect the battery compartment. Look for any dirt, corrosion, or debris. Use a clean rag to wipe it down. If you see any corrosion on the existing battery cables (often a white or blue-green powdery substance), you can gently clean it off with a battery terminal brush or a mixture of baking soda and water. A clean connection ensures better conductivity and a longer lifespan for your new batteries.
Placing and Connecting the New Batteries
Now, carefully place your new, fully charged batteries into the compartment. Make sure they are oriented correctly, often matching the orientation of the old batteries. Secure them if there are straps or clamps designed for that purpose. This prevents them from shifting around during use.
The Connection Sequence: Positive First!
Remember that picture you took? Now’s the time to refer to it! When connecting the new batteries, you’ll do the reverse of the disconnection. Connect the red (positive) terminal first. Secure the cable with your wrench, making sure it’s tight but not overtightened. Next, connect the black (negative) terminal. Again, ensure a snug connection. This positive-first sequence minimizes the risk of accidental sparks (Occupational Safety and Health Administration).
Double-Checking Connections and Securing the Compartment
After connecting both terminals, give the cables a gentle tug to confirm they are secure. Loose connections can lead to intermittent power issues or even damage. Once you’re confident everything is tight and correctly connected, replace the battery compartment cover. Fasten any screws or latches you removed earlier. You’re almost there! This careful check ensures optimal performance from your new batteries.

Final Steps and Testing Your Mobility Scooter
You’ve done the hard work, and your new batteries are in place. Now comes the moment of truth: testing your scooter. We’ll walk you through how to properly close everything up and conduct a quick check to ensure your scooter is ready to roll. This final stage confirms all your efforts have paid off.
Reassembling Your Scooter and Initial Power-Up
With the battery compartment securely closed, put back any other parts you removed, like the seat or floor mat. Make sure everything is fitted properly and securely. You want your scooter to be just as sturdy as it was before. This includes any decorative covers or protective panels.
Reinserting the Key and Turning On
Now, you can reinsert the key into the ignition. Take a deep breath, and turn the key to the “on” position. Do you hear the familiar beep or see the power indicator light up? If so, that’s a great sign! Your scooter should power on just as it did before. If nothing happens, don’t panic. Double-check your connections in the battery compartment.
Performing a Test Drive and Monitoring Performance
Once your scooter powers on, it’s time for a short test drive. This isn’t just for fun; it’s to ensure everything is working correctly and safely. Listen for any unusual sounds and feel for smooth operation. We recommend starting with a short, gentle drive.
The Test Drive Checklist
Before you take off on a longer trip, run through this quick checklist:
- Does the scooter power on immediately?
- Do the lights and horn work?
- Does the scooter move forward and backward smoothly?
- Does the speed control function correctly?
- Is the turning radius normal?
If all these checks pass, congratulations! You’ve successfully replaced your mobility scooter battery. You’ve not only saved money but also gained valuable knowledge. Enjoy your renewed independence and extended range!
Conclusion
You’ve successfully learned how to replace your mobility scooter battery. By following our steps, you’ve taken control of your scooter’s maintenance. This task might seem daunting at first, but it’s totally achievable. You’ve not only saved money on service fees but also gained valuable independence. We encourage you to always prioritize safety and proper battery handling. Enjoy the renewed performance and extended range your fresh batteries provide! Keep your scooter running smoothly for years to come.
Frequently Asked Questions
How often should I replace my mobility scooter batteries?
Most mobility scooter batteries last between 1 to 2 years, depending on how frequently you use your scooter and how well you maintain them. Regular charging and avoiding deep discharges can extend their life. We found that extreme temperatures can also affect their longevity.
Can I use car batteries in my mobility scooter?
No, you should not use car batteries in a mobility scooter. Car batteries are designed for short bursts of high power to start an engine. Mobility scooters require deep cycle batteries, which are built to provide a steady amount of power over a longer period. Using the wrong type can damage your scooter.
What does “amp-hour (Ah)” mean for a battery?
Amp-hour (Ah) is a measure of a battery’s capacity to store energy. A higher Ah rating means the battery can deliver a certain current for a longer time. For your mobility scooter, matching the original Ah rating ensures you get the expected range and performance. We recommend checking your scooter’s manual for the correct specification.
Where can I recycle my old mobility scooter batteries?
Old mobility scooter batteries contain hazardous materials and should not be thrown in regular trash. You can usually recycle them at local auto parts stores, battery retailers, or specialized recycling centers. We found that some cities also offer household hazardous waste collection events.
Do new mobility scooter batteries come fully charged?
New mobility scooter batteries typically come partially charged, but we always recommend fully charging them before their first use. This “initial charge” helps condition the battery and ensures you get maximum capacity and lifespan. Refer to your scooter’s manual for proper charging instructions.
